So as you may have seen in a previous post, I now own a decent amount of cabochons, I figured I might as well use them and make a funfair inspired light strip. Handily, few years ago I purchased a load of ducting with the hope of using it for wiring, but due to the usual lack of motivation, they have been stood in a corner since arriving from the store 😅
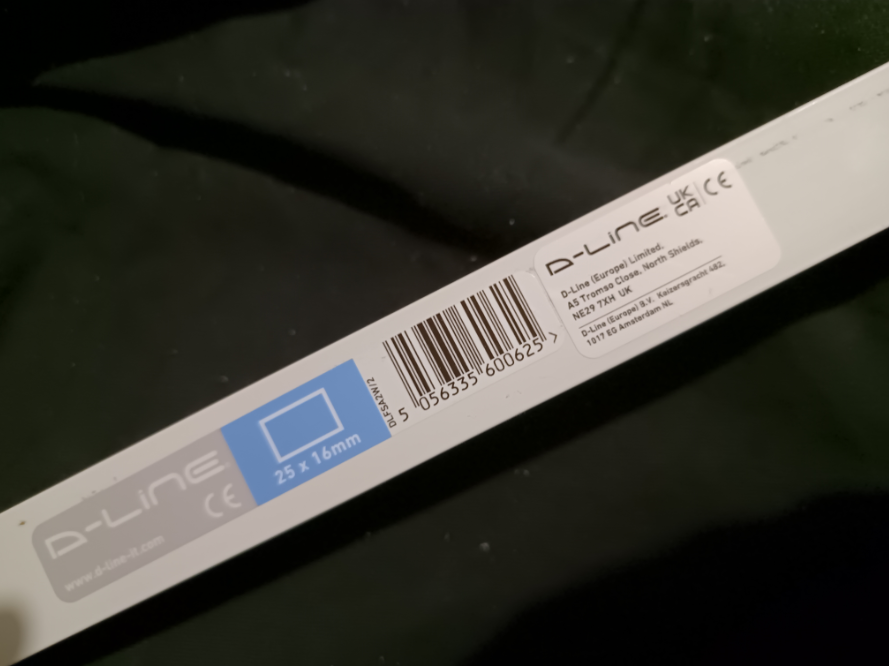
Side note, I have no idea why, but the camera on my phone only seems to focus on the center most point, the rest of the image seems blurry to me, as shown above.
From what I could find online, it seems like the lights are typically spaced 90mm apart, whether using E10 or E14 Cabochon's.
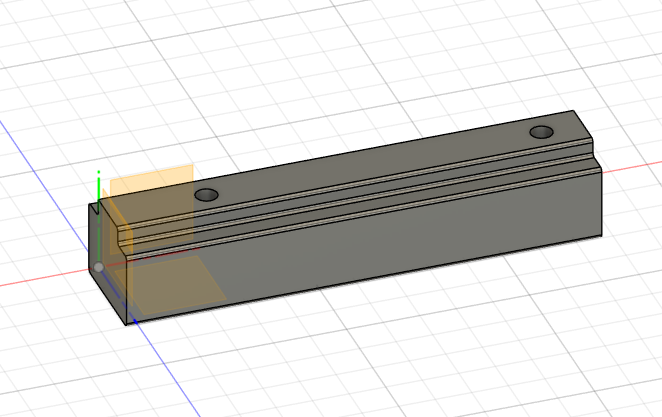
I know from previous experience that trying to freehand drill holes on shiny plastic is not a wise idea, so I modeled a basic jig in Fusion360 to help the drilling process go smoother, which it did (Download at bottom of page).
I wanted the lights spaced evenly and the shelf is a weird length so this is as close as I could get to 9cm. The jig is 91.667mm spacing if I remember correctly.
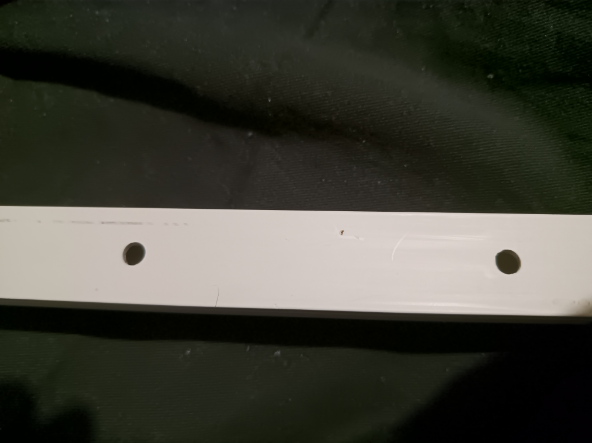
I used an initial hole side of 6mm, then I used a reamer to expand the hole to 12mm, I wish the step drill bit reamer thing I used had an 11mm notch as I think the lights would have fit just a little more snug, but it did a good job in the end anyway.
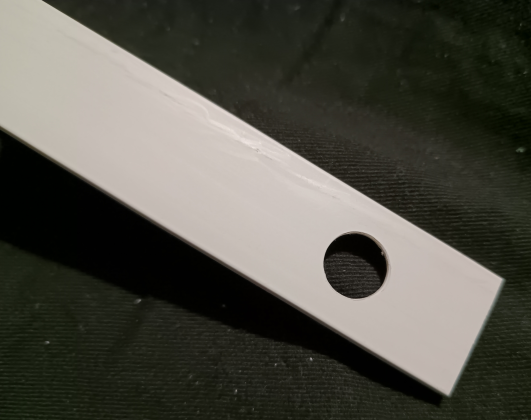
I had to remove some of the back ribbing on the duct so the lights could sit higher on the surface. It was a bit of a bitch to cut it all away, it was worth it in the end.
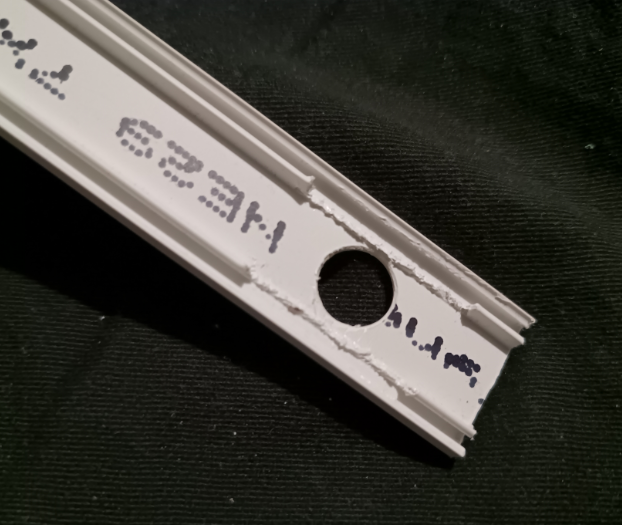
I'm just reviewing the post before posting it, but looking at that picture above, I think that hole might be off center 😕
If my duct didn't have adhesive already applied to the bottom I could have mounted the holes for the lights on the deep side of the duct, it would probably make reaming out the holes easier and no need to remove the ribbing.
The LEDs
I didn't go with premade modules as I some unused WS2801 LED string from AliExpress I got a few years ago and has been laying, so I'm using that.
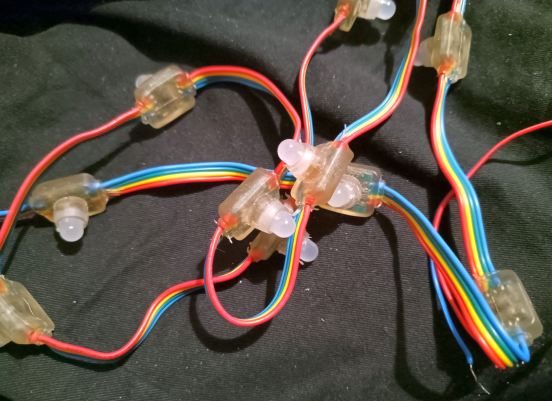
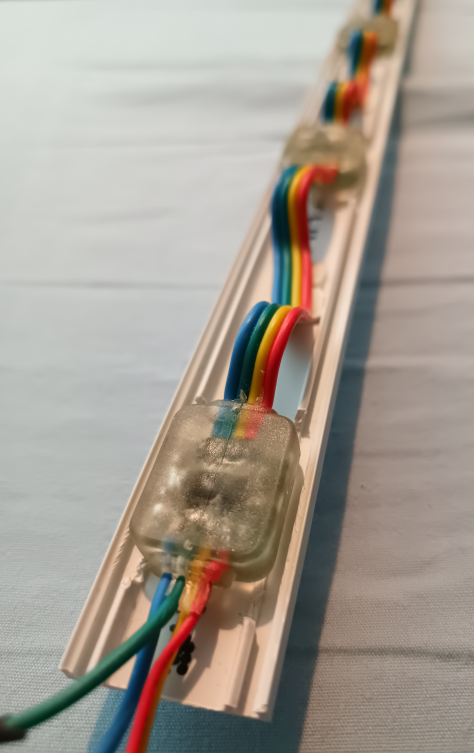
The LEDs push fit in place and stayed firmly, but it would have been better with an 11mm hole as I think the molded surround has shrunk a little over the time.
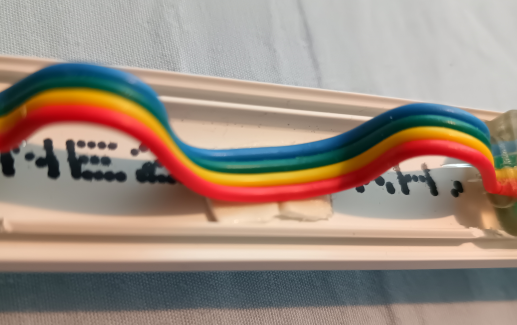
I put some little strips of double sided foam tape in-between the lights to stick the excess cable down, it wasn't needed but I thought it would make it easier to slide the duct back together, then I realized its easier to just squeeze the duct back together 🤷♂️
I left a little bit of the wires at the non esp32 end of the strip, I figured that future me could add a header to the end cap and use it for a second strip of lights 🤓
The Coupler
I created a coupler between the cabochon and the led, It works fine for the E10 Turbo cabochons but not the E10 UFO. The model is included at the end of this post.
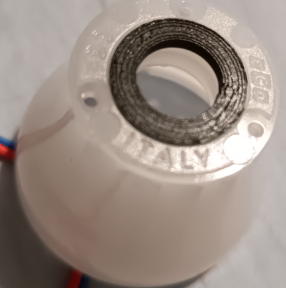
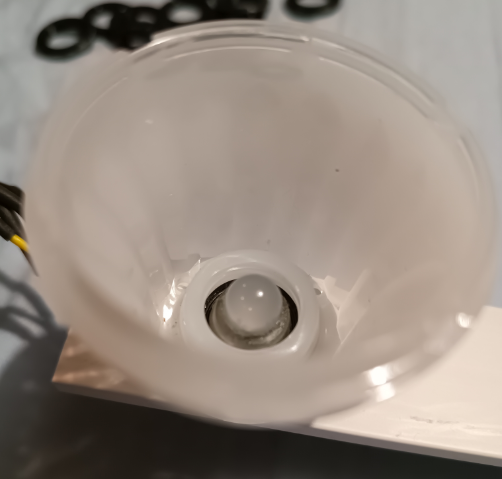
I originally was going to go with a screw fit as the cabochons have screw threads on the bottom, but after designing it, there just isn't enough thickness between the cabochon and the LED for a thread.
The Electronics
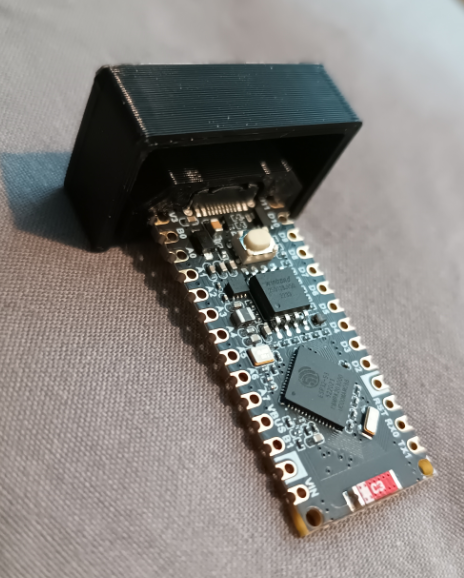
I knew from the start that I would be using an ESP32 for controlling the lights because they are cheap, Wi-Fi enabled and low-ish current draw, but I needed to find one that fit inside the duct, so less than 25mm wide.
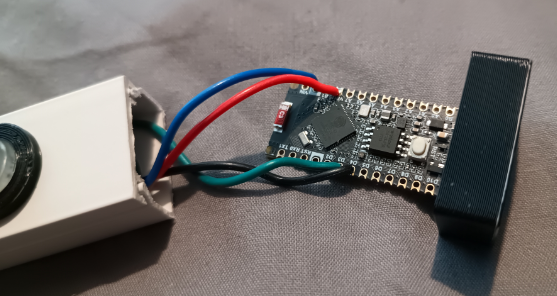
After a bit of searching and looking up spec sheets, I ended up going with a Waveshare ESP32-S3-Nano I found on amazon. They had some similar sized ones for just over £5 but they had longer shipping times than I was willing to wait.
The power for the LEDs is tapped from the USB via the VBUS pin on the ESP-32, this works without issue for low loads, like my set of lights, but I wouldn't push it above an amp current draw just because of the diode they use.
My strip, which is 13 lights long, pulls from 150ma (single color low brightness) to 800ma (white at full brightness), Obviously this will greatly vary based on the type, quantity and size of the LEDs you use.
The Data and Clock signals for the LEDs is connected to D3 and D4, but this can be set in the WLED firmware so isn't to critical, just use the D pins.
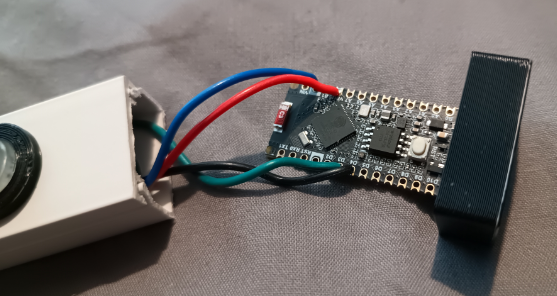
I designed an endcap for both ends, one is just an endcap, the other holds the ESP-32 so that the USB port is directly accessible for powering strip. It fits fairly firm in place, but if needed, you could put hotglue where the endcap and board meet.
Flashing an ESP-32-S3 with WLED
This was a chore to say the least.
I figured it would be like any other ESP32 I previously used, even for controlling LEDs, but nope. Turns out some of the newer variants of the ESP-32 chip itself aren't fully backwards compatible with the previous ESP-32 chip libraries without some legwork in-between. Thankfully it seems most of that is already done by some good people, but there its not fully there yet.
I tried to use the WLED web installer but it caused my board to bootloop and when plugged into the pc would just connect and disconnect repeatedly.
To get out of the bootloop you need to press the BOOT button, which my ESP-32 doesn't have 😑
After a bit of searching, you can mimic a BOOT button by shorting pins B1 and GND together briefly. The green LED on the ESP-32 should light up and now be recognized by the computer.
I used release v0.15.0-b2 of WLED which is the latest beta as of writing this. I tried V14 but it didn't work for me, probably because of the newer revision chip.
There is a catch with my approach below, it doesn't use the onboard PSRAM and the chip size is treated as 8MB instead of 16MB. For my use, this works fine, and to be honest, I'm not sure what benefit the PSRAM would bring for 13 LEDs 😂
To get this slightly gimped firmware you need to download these files from the official GitHub here.
S3_bootloader.bin
S3_partitions_8M.bin
S3_partitions_8M.bin
WLED_0.15.0-b2_ESP32-S3_8MB.bin
You will need ESPTool, Extract it to its own folder and put the above files in the folder like below.
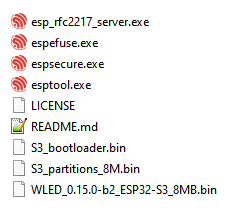
Make sure the ESP-32 is connected to the PC (not in a bootloop) and run the following commands.
esptool.exe erase_flash
esptool.exe write_flash 0x0 S3_bootloader.bin
esptool.exe write_flash 0x8000 S3_partitions_8M.bin
esptool.exe write_flash 0x010000 WLED_0.15.0-b2_ESP32-S3_8MB.bin
If that all went well the ESP-32 should boot into WLED.
After booting into WLED, it should create a Wi-Fi network you need to connect to called WLED. When connected it should take you to a webpage to enter you Wi-Fi credentials. Click Save and Connect and the lights should now be on your network,
I gave my strip the name of shelflights in the network settings so I can connect to it via shelflights.local instead of the IP address.
You just have to modify the LED Preferences in WLED, adjust how many LEDs you have, the type of chip controlling them (WS2801 for my LEDs) and what pins the DATA and Clk are (GPIO6 & GPIO7 for me) and the LEDs should light up 👏
The Result (not on a shelf)
Things I would change
The Duct
Its a little too small, if I was buying specifically for this project, I think a 40mm duct would give you far more room inside for the ESP and wiring and I wouldn't have needed to remove the inner rib of the duct to fit the LEDs flush. The cabochons also overlap the edge of the duct a little.
With a bigger duct it might be possible to use some 18650 cells and a TP4056 module, that way the whole strip could be portable... for some reason🤷♂️
The ESP-32
Flashing of the ESP-32 with the WLED firmware was a nightmare. See above😑
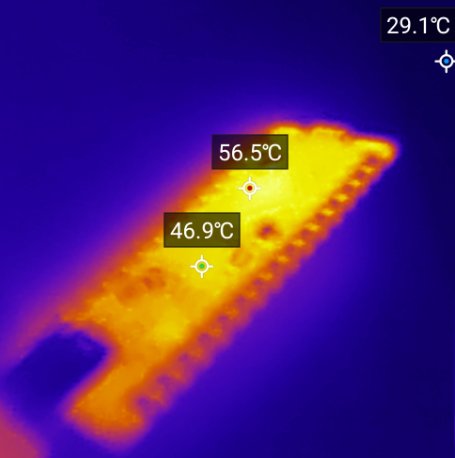
It seems to produce a decent amount of heat too, and this was in open air so I dread to think how warm it is in the duct 😅
Mounting the cabochons
Just use hotglue, I know a lot of people frown upon it, but sometimes it just works, and in this case it would have made mounting the cabochons far easier and if you need to remove / change a cabochon in the future, just douse it in isopropyl alcohol and give it a few seconds, it will probably fall off by itself.
Buying cabochons
Know what quantity you need before buying them, it seems obvious but apparently not to me, I ended up using alternate Turbo and UFO cabochons on my strip because I only brought 10 of each, I think I like the result, but I would prefer if they was all the same type.
The LEDs
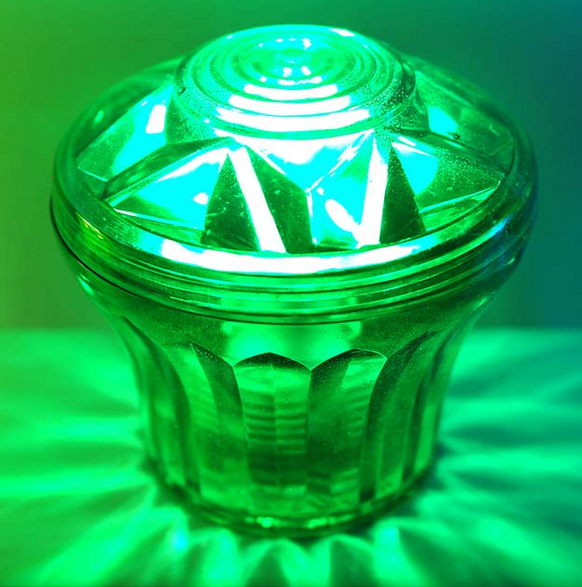
Although they work, and they look nice, I was expecting more of a pattern to be projected around the base (see below), I assume its because the LEDs sit to low in the cabochon. Modern LEDs used in these are entirely different, but from what I understand, aren't addressable so I'm not keen on using them.
Maybe if I can be bothered I will buy some light pipe and see if a little of that stuck on the end of the LED will make any difference. If not, it might be the color of the cabochon, I chose opal because I figured it would spread the light a little more, especially with how low the LEDs are, but I feel like clear would have been a better option.
Final Thoughts
Its the first project I've finished in a while but besides the things I would have done different along the way, I'm happy with it in the end.
I'm gonna do some research on fairground lighting patterns and see if there is some standard sequences they use. If not I can probably reproduce some from YouTube videos and such.
Anyway, Below is the STL files for parts made during the project if you end building one yourself😁
